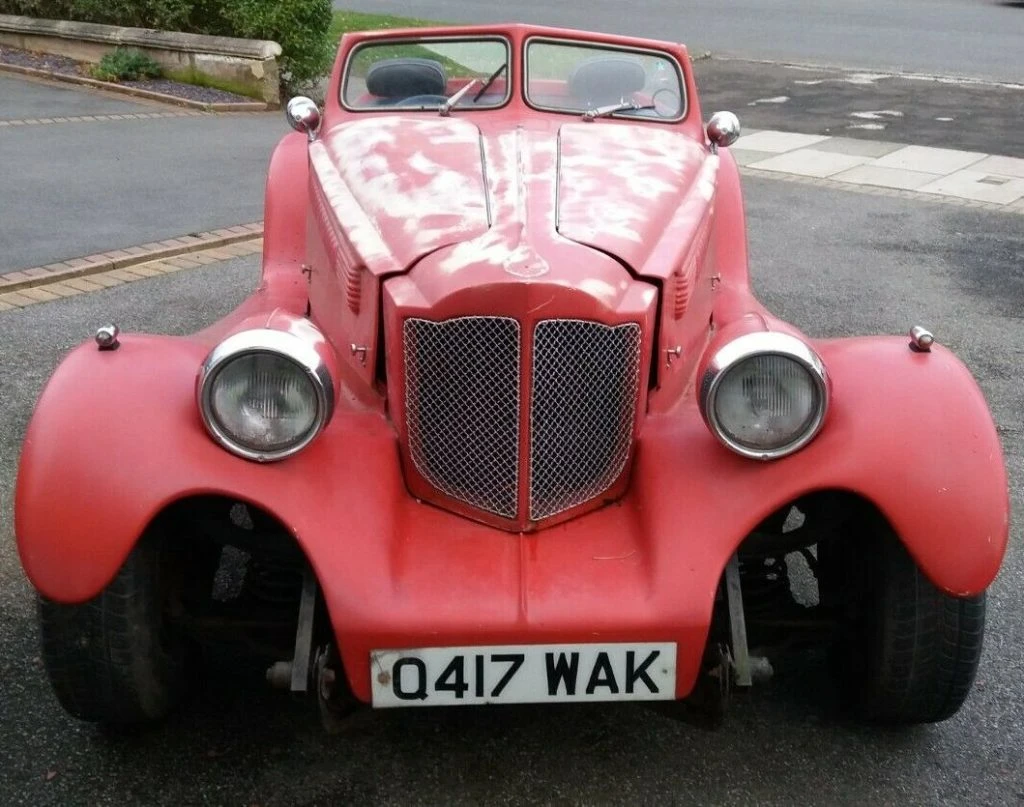
Most of the work on the front end apart from headlamp wiring and bodywork has now been done, so I decided to switch my attention to the rear. After clearing some garage floor space I was able to pull the Madison forward and spin it around in the garage on the trolley, then tuck it into a corner again. This still gives me access to the dashboard area which is currently being varnished multiple times in order to try and build a decent finish on the burr walnut – more on that another time.
With the rear bulkhead removed – it’s just bolted in – and the boot lid removed access is very good at the rear of the Madison.
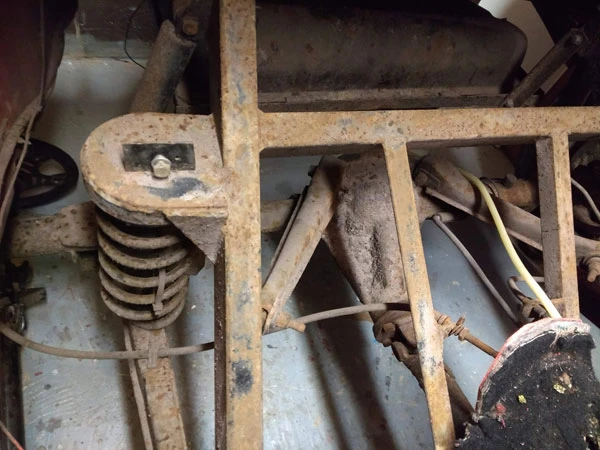
Those of you familiar with the Cortina Mk3/4/5 range will have spotted that it’s a complete Cortina rear end, this is the Atlas axle with a 3.75:1 Diff which is the one to have apparently. The first job was to remove the fuel tank and in my case dispose of it as I don’t like where it is situated at the very rear of the car with zero protection from a shunt. My plan is to have a new stainless steel tank situated high up between the rear chassis rails, I can get one made to fit comfortably with a capacity of 44 litres which should be adequate for most journeys. I’m also going to fabricate a substantial steel frame bolted or welded to the main chassis situated behind the rear bulkhead for seat belt mounts and roll bar mounts. This will protect the new fuel tank still further.
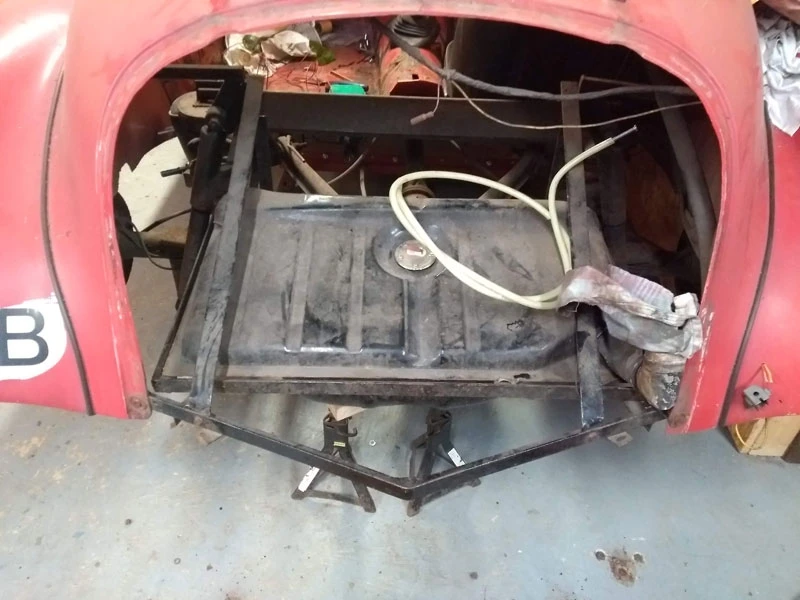
The other thing about having the fuel tank moved is that I should get some reasonable boot space as currently there is none!
So it was now onto removing the rear axle. Fortunately the person who built the car had greased the bolts – or maybe the oil mist off the leaking gearbox rear oil had helped too. Anyway, with the exception of the propshaft bolts it all came apart fairly easily though it helped that I’d bought one of those very long 1/2″ drive socket bars as the nuts were really tight. I couldn’t get to the propshaft bolts easily so removed the axle complete with propshaft out the back of the Madison. I’d forgotten how heavy rear axles are, it’s quite a weight just dragging it over the floor. I unbolted the propshaft which looks like it could be for the scrap bin. The front splined section surface is badly pitted so it’s going to rip out a new oil fairly soon although I could possible have it skimmed or resurfaced. The main problem is that the shaft itself has been badly shortened with lumpy welding at the tube ends and various bits of metal pop rivetted on presumably to try and balance it. Looking around, new ones can be bought for approx £250 which is the easiest solution, not that I want to throw money at the car..
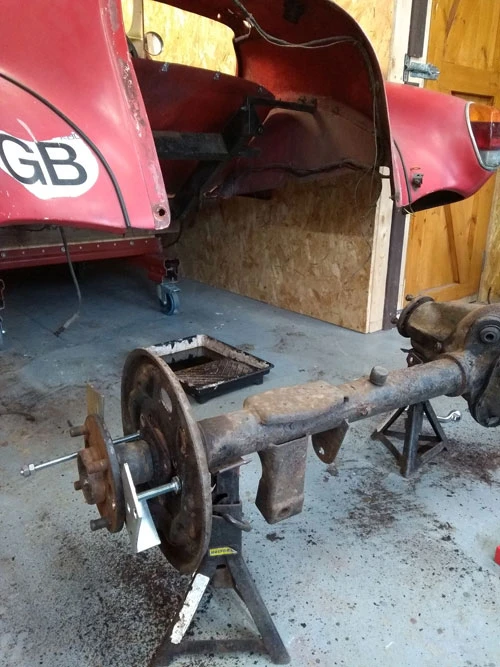
With the back axle completely removed I started to strip it down as I want to paint it and have the suspension arms powder coated as well as the brake backplates. It looked like the nearside halfshaft seal was leaking once the brake drum was removed so that made it necessary to remove the halfshafts anyway. The Heynes manual was very helpful on how to do this and in the picture above you can see how it’s done. The hub has two holes so you use two long bolts with metal plates such that when they’re tightened it pushes the hub out from the axle.
With both halfshafts out the backplates could be put with the other suspension components ready for the powder coaters. The axle itself is too heavy to take and I don’t want to strip it down anymore so a good wire bush and sand and it could be painted with smooth black hammerite.