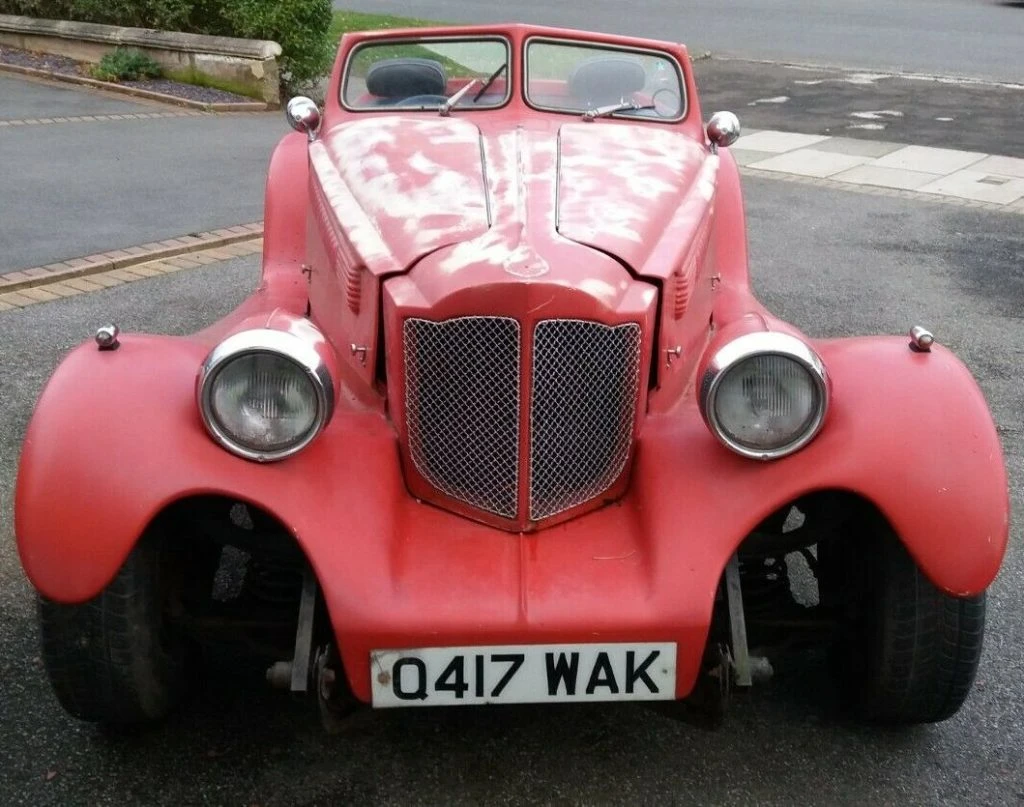
We’ll have all heard the phrase “blank canvas”, well this felt more like a cut up and ripped canvas when I first looked at it. There was virtually nothing to fix a new dashboard too as the original fibreglass moulded dash had been removed and cut back/broken off very close to the windscreens. At the cockpit sides there was a small amount of very thick fibreglass where several mouldings meet so eventually, after a lot of head scratching and measuring I was able to get a couple of fixings using some galvanised metal brackets from Wickes.
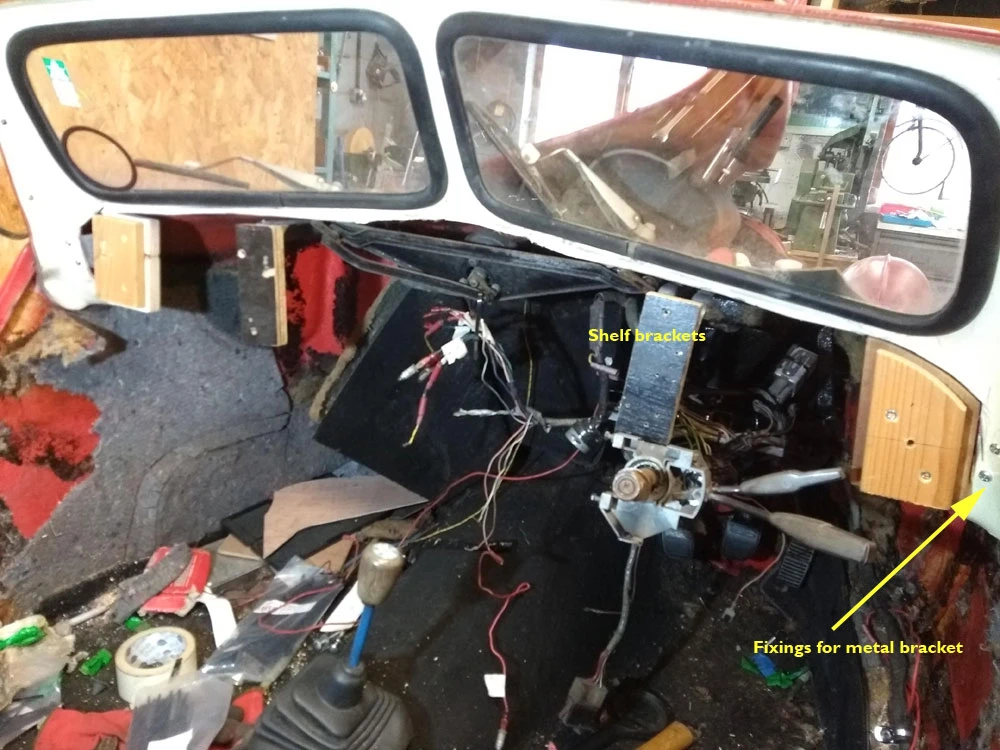
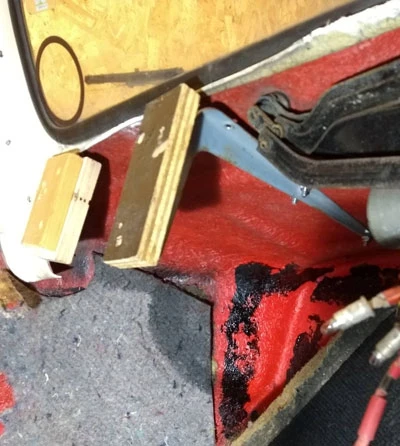
I drilled through the fibreglass and managed to get a couple of long bolts through to bolt the brackets on. The brackets themselves were “formed” (a term we used in IBM to describe metal bashing) such that they curved round the fibreglass bits and presented a straight surface to which bits of wood were screwed too. For the middle supports I had a rummage in the “it will come in handy one day bin” and found a couple of very long shelf brackets. These were long enough such that I could bolt them to the cowl or scuttle and they’d be hidden when the bonnet was shut. This next picture shows the view from underneath.
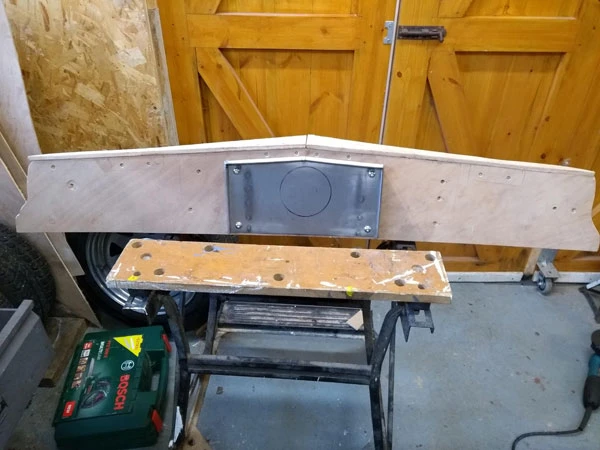
With these brackets in place I had something to build a dashboard on. I did this by using multiple sheets of 4mm ply glued together to get some curve and shape to the dashboard. Once dry I then made some pieces to fill in the gap between the windscreen and the dash and glued them on.
Now, I have to confess I love a well equipped dashboard; Speedo, Rev Counter and a cluster of Smiths short scale gauges (showing my age here) set off in a burr walnut dashboard does it for me. I will be veneering this with burr walnut but wondered what I should make it look like. I looked on the web at dashboards from cars in the 30’s and 40’s and they’re generally fairly simple and made of metal. A metal dashboard is much easier from some aspects, particularly when mounting switches and warning lights, as some of them only have a few mm of thread. A further consideration was that the donor Cortina has lots of column mounted switches so I didn’t need to have that many dashboard switches. I don’t want to pretend that this is an old car but I did want to keep to the style otherwise what would be the point of the project. So, I decided to go for a simple metal dashboard which will have a big central Speedo and fuel gauge and temperature gauge either side. Warning lights will cover oil pressure, alternator charging etc and there will be a couple of switches including ignition and a starter button and of course choke.
The metal part of the dashboard is a piece of 1mm sheet steel cut and folded in one of those Clarke guillotine/folding/rolling machines that Machine Mart sell – an early lockdown treat. Where the folded edges meet I’ve MIG welded it and filed it smooth. It actually makes the wiring/dashboard build much easier as it can easily be removed whilst leaving the main dashboard in place. This really needs to be bonded to the remains of the old moulding at the bottom of the windscreens, so once it’s in I don’t want to have to take it out again.